Some brands don’t just face a crisis; they completely reshape how consumers see them. For me, the Volkswagen’s Dieselgate scandal is on of those moments, and it hits a little closer to home than most.
At the time, I owned a diesel Beetle convertible that I absolutely loved. It was my first “big girl” car, and I enjoyed cruising around town in it. I had also just taken on a market role that required a lot of travel, so the fuel efficiency was a huge benefit. At one point, I was even making money off my mileage reimbursement. I wasn’t the only one invested in Volkswagen either; my husband had a diesel Jetta, so we were very much a Volkswagen family. It had become part of our identity. To us, these cars were safe, reliable, and incredibly efficient.
So when the news broke that Volkswagen had been manipulating emissions testing, we were shocked and honestly felt a bit betrayed. It makes you stop and wonder: why would a company take that risk? Were they trying to be first to market with something innovative and willing to do whatever it took to get there? And what about the consumers who trusted them and fell in love with the product?
It honestly felt like being in a relationship where everything seems perfect, and then suddenly you find out the other person wasn’t being honest. That trust is hard to rebuild once it’s broken.

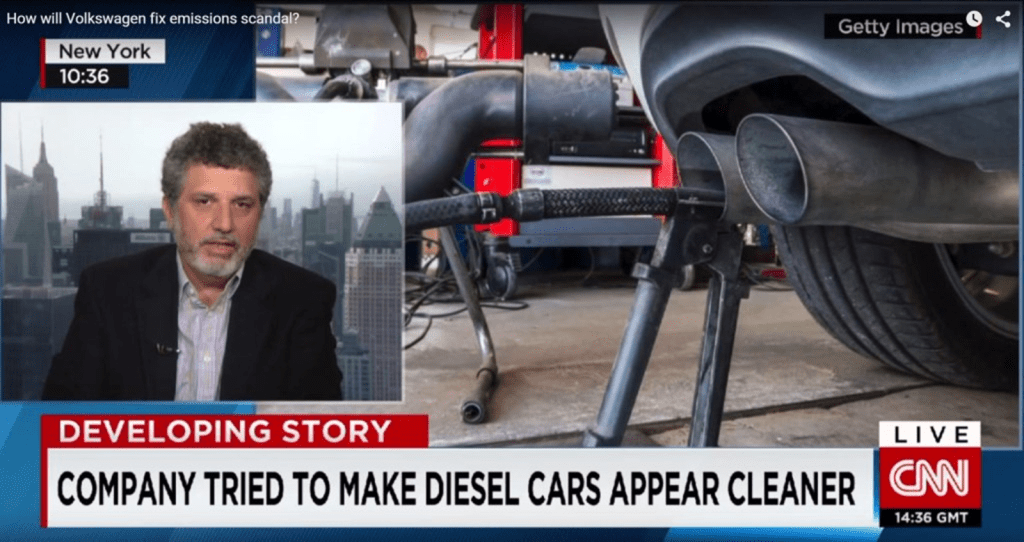
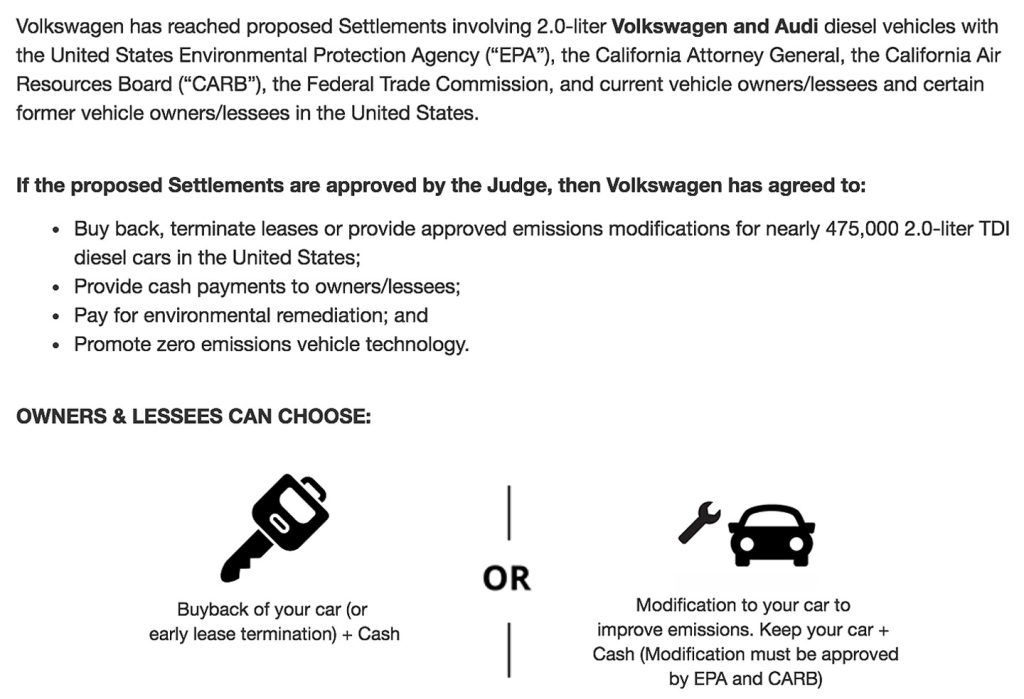
Volkswagen’s ethical and legal issue began when it was discovered that the company had installed software in diesel vehicles to cheat emissions tests. These “defeat devices” allowed the cars to pass environmental standards during testing, while actually producing higher emissions during real-world driving. This was not just a technical issue; it was a major breach of trust. According to the U.S. Environmental Protection Agency (EPA), Volkswagen ultimately faced billions in settlements and agreed to buy back or repair affected vehicles (EPA, n.d.).
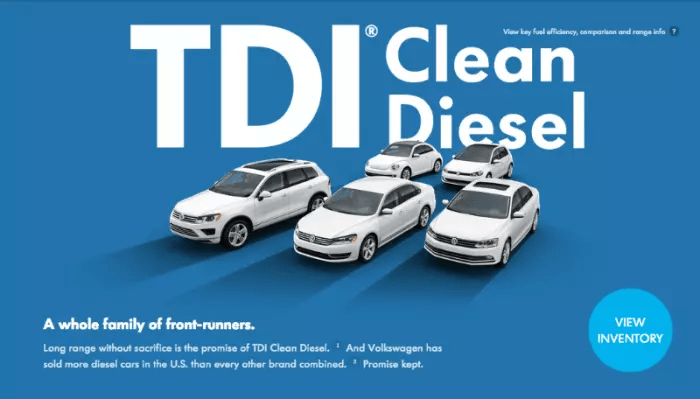
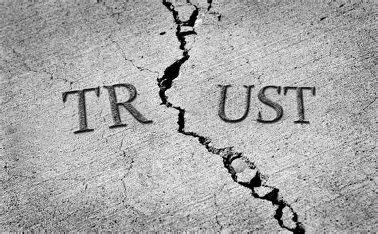
From a brand perspective, this had a significant impact on consumer perception. Volkswagen had positioned itself as a brand focused on innovation and efficiency, especially with its “clean diesel” messaging. Once the truth came out, that positioning fell apart completely. Consumers felt misled, and trust, one of the most important parts of any brand relationship, was damaged almost overnight.
I saw this firsthand. Instead of just enjoying our cars, we were suddenly dealing with uncertainty, potential repairs, and eventually the buyback process. While Volkswagen did offer to buy back the vehicles, which helped recover some of the damage, it didn’t change the fact that the situation could have been avoided entirely with honest communication.
This situation also highlights how unethical behavior can have ripple effects beyond just one issue. Research shows that when brands act unethically, it can create broader negative perceptions that impact long-term brand equity and consumer loyalty (Nichols et al., 2023). Even if a company takes corrective action, rebuilding trust takes time.
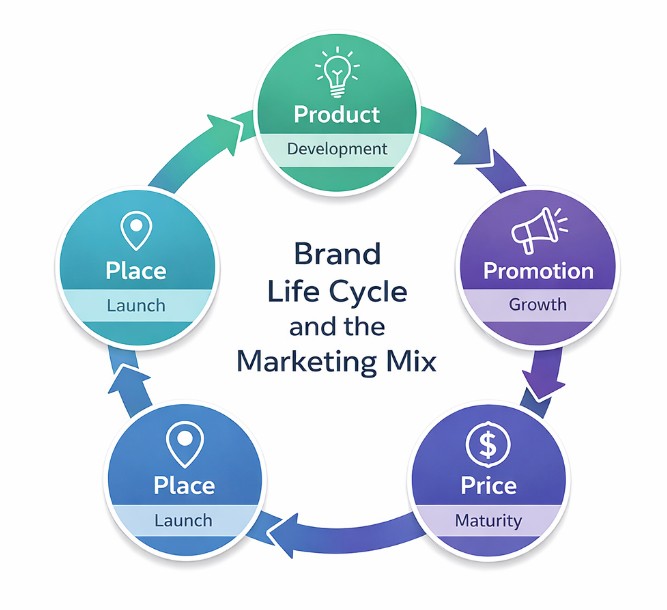
In terms of engagement, Dieselgate caused many consumers to rethink whether they wanted to continue supporting Volkswagen. Some customers walked away from the brand entirely, while others stayed but with hesitation. This is especially critical in the maturity stage of a brand’s life cycle, where maintaining trust and loyalty is key to long-term success.
Looking back, Volkswagen could have handled this situation very differently. The most obvious starting point would have been avoiding deceptive practices altogether. From a brand management perspective, aligning actions with brand values is essential (Wheeler & Meyerson, 2024). However, once the issue surfaced, their biggest misstep was the lack of transparency. The way it was handled made it feel like they were trying to hide their actions, which only made things worse. More upfront, clear communication, earlier acknowledgment, and a stronger focus on accountability could have helped reduce the damage to their reputation and rebuild trust more effectively.
That said, the buyback program was a step in the right direction. For many customers, including myself, it showed some level of accountability. But it also felt like a reactive fix rather than a proactive solution.
Ultimately, Dieselgate is a strong example of how quickly a brand’s reputation can shift when ethical standards are not upheld. It also reinforces an important lesson: brand identity isn’t just what a company says, it’s what it does. When those two things don’t align, consumers notice, and the impact can last far beyond the initial mistake.
References
U.S. Environmental Protection Agency (EPA). (n.d.). Volkswagen Clean Air Act civil settlement.
Volkswagen Clean Air Act Civil Settlement | US EPA
Nichols, B. S., Kirchoff, J. F., Confente, I., & Stolze, H. (2023). When brands behave badly: Signaling and spillover effects of unethical behavior in the context of triple bottom line sustainability. Journal of Product & Brand Management.
Wheeler, A., & Meyerson, R. (2024). Designing brand identity: A comprehensive guide to the world of brands and branding (6th ed.). John Wiley & Sons, Inc.